Kitchen Soffits Crown Molding Ideas — Schmidt Gallery Design
It is Soffit Crown Molding 1 9/16" Tall X 1 9/16" deep and 8' Long. Please contact our Free Online Design Center at 866-373-9131 and we will be happy to consult on your cabinetry needs or help create a shopping cart for your items. We appreciate your business and look forward to serving you in the future.

Adding Crown Molding To Top Of Kitchen Kitchen soffit, White
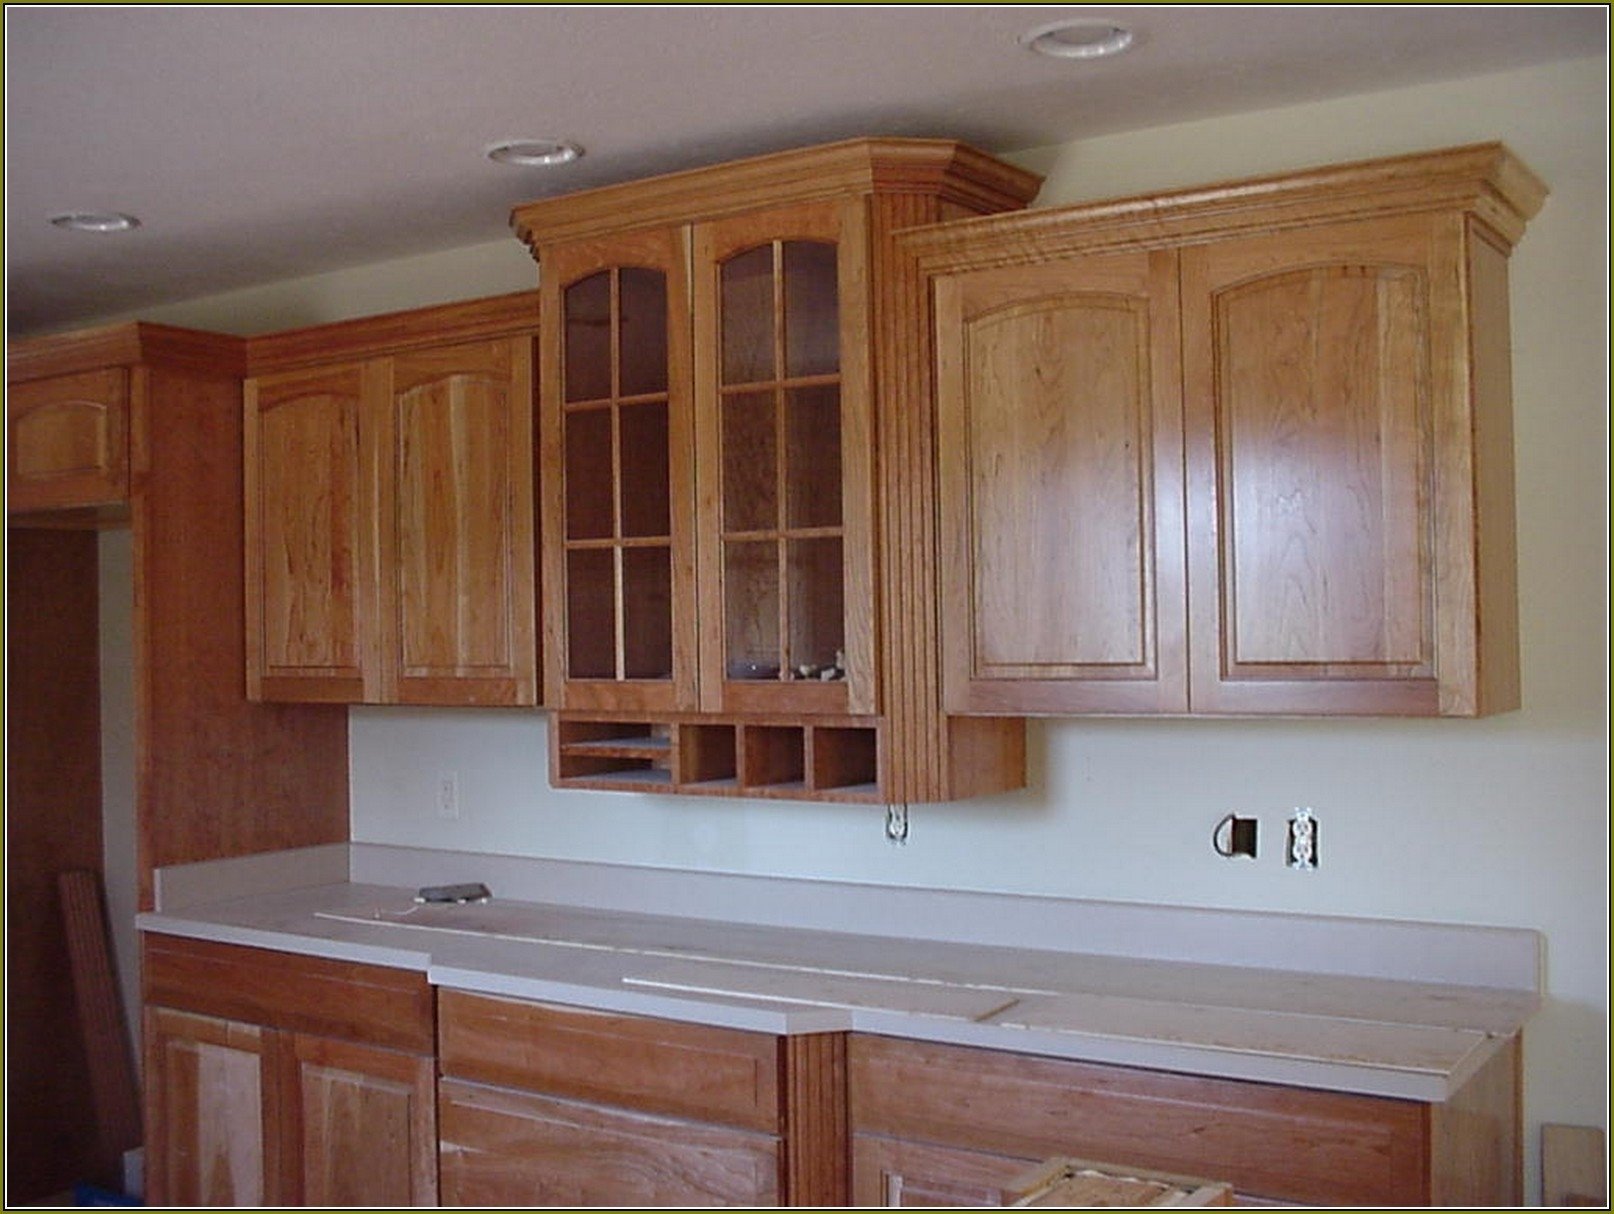
Step 2: Attach 1×3″ Horizontal Boards to Soffit. Next, we cut 1×3″ boards with the miter saw, and attached them directly below the crown molding installed in Step 1, and also on the lower front of the soffit. Because the crown molding was mounted on the 1×2 pieces, the molding and the 1×3 boards were flush together.

Kitchen DIY // Crown Molding on a Soffit Kitchen soffit, Kitchen
Unlike the crown and the bolection, panel molding is simply cut flat against the fence. Locate the bottom of the panel mold. Holding a block against the crown ensures a consistent line. Marking in place makes for accurate cuts. Make sure the first end of the piece fits well, then mark the second end with a sharp pencil.

Home Decorators Collection 19/16 in. x 8 ft. Soffit Crown Molding in
It is Soffit Crown Molding 1 9/16" Tall X 1 9/16" deep and 8' Long. Please contact our Free Online Design Center at 866-373-9131 and we will be happy to consult on your cabinetry needs or help create a shopping cart for your items. We appreciate your business and look forward to serving you in the future.

How To Put Crown Molding Above Kitchen Anipinan Kitchen
Details such as the frieze board on the wall below the soffit, additional fascia boards, or crown molding are some of the nuances that a skilled designer can incorporate into the design of the eaves to achieve a desired effect. Framers rarely have input into the design of the eaves, but because the rafter tails are an intricate part of that.

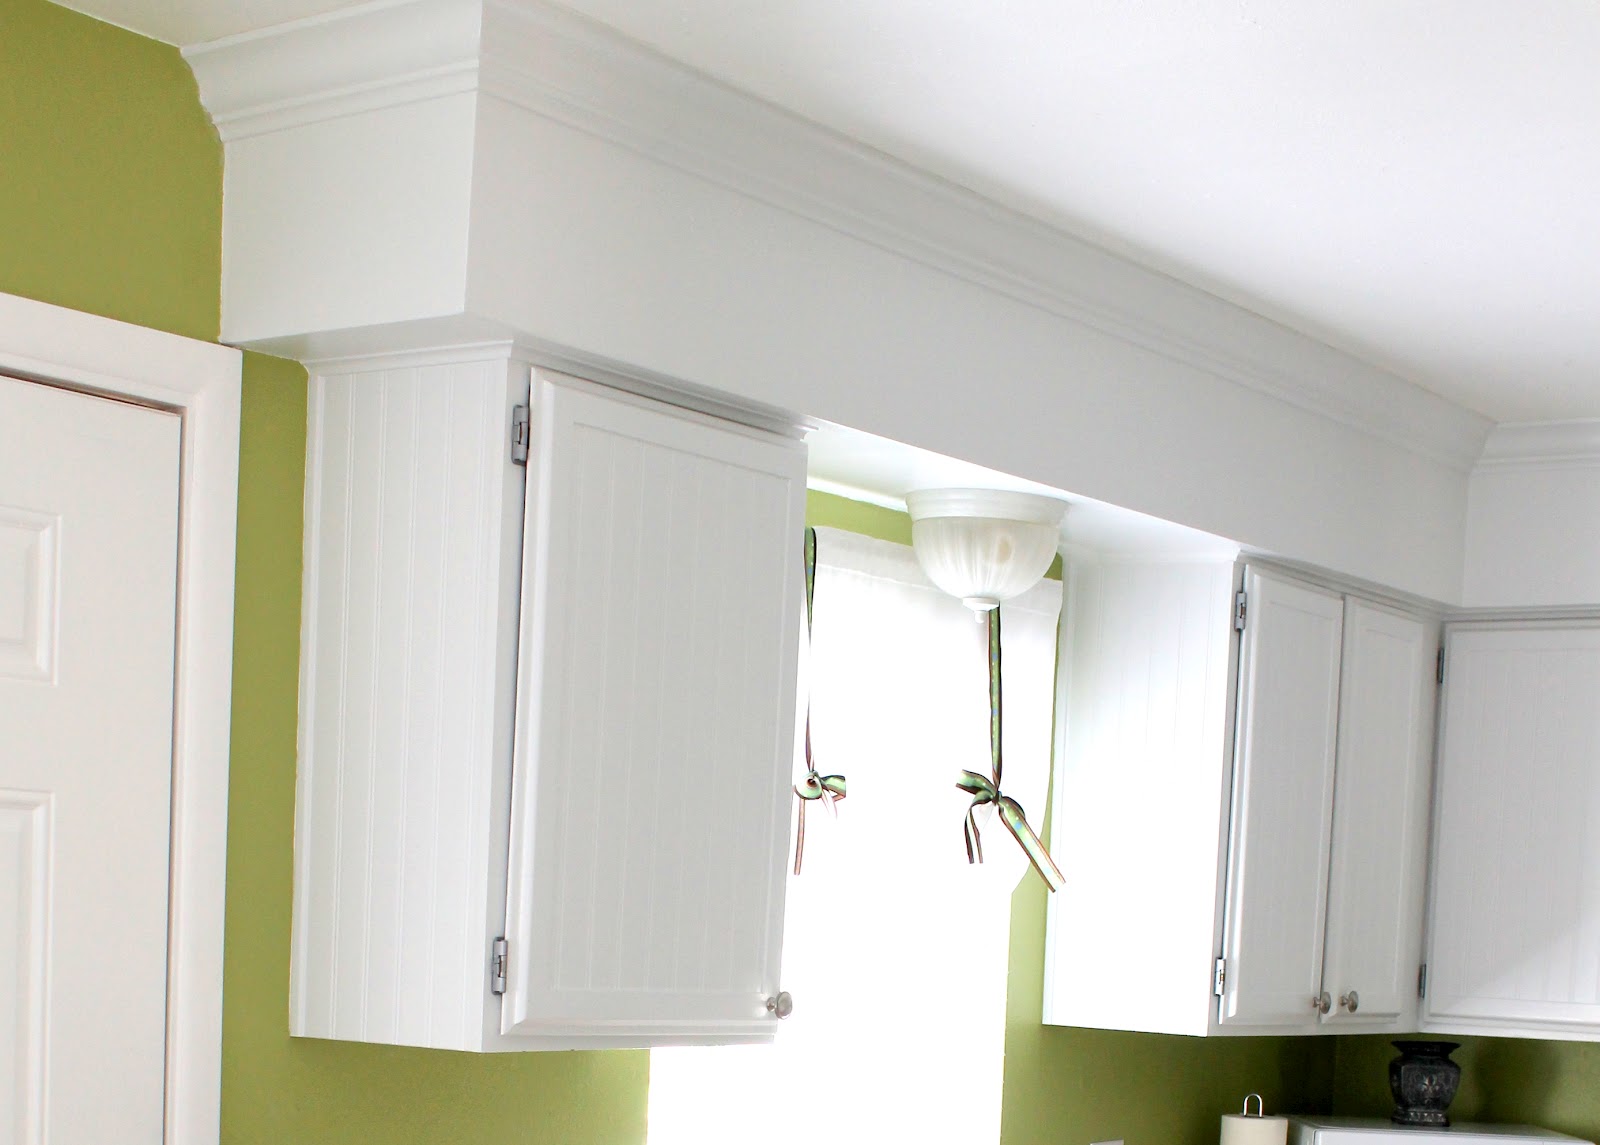
the underside of the bulkhead is painted the same colour as the
I have a kitchen in a corner. One wall has a enclosed soffit and one wall does not - just an open soffit. While installing new cabinets, my designer is giving me two options: 1. run the cabinets to the enclosed soffit on one side with no crown molding, and then no crown molding on open soffit side as well or 2. drop the cabinets and install.
10 Beautiful Kitchen Crown Molding Ideas 2024
In this post I show you how I laid the foundation and assembled the soffit and fascia pieces. Crown Molding Limiting Factors. This room only had this one limiting factor affecting the crown molding design — the air vent. I couldn't put the same old contractor-grade vent cover back on, so I modified the opening a bit and then installed one.

Soffit disguised with crown molding. Falmouth, Crown Molding, Fixer
Continuous Crown Molding. The running trim in a house is oftentimes chair rail, baseboard, or crown molding. In any one of these situations, we can run into obstacles—places where you don't know how to stop or start the trim. But I always try to keep the trim running continuously. I try to keep straight lines and make the little jags and.

rjkconstructioninc Kitchen soffit, Diy kitchen decor, Kitchen
Description. Take your design to new heights and save on install time by stacking crown moulding on top of our Soffit Filler Moulding. Once you've found the door you love, use our convenient tool to find a location near you where you can buy Aristokraft Cabinetry. Soffit Filler Moulding topped with crown moulding will take your design to new.

Photo only Kitchen soffit, Crown molding kitchen, Diy kitchen
Most soffit designs don't provide enough continuous NFA to work with roof exhaust requirements. This results in most homes not being properly ventilated; and roof manufactures won't provide warranty coverage on homes without proper ventilation.. Recessed Crown Molding. Cove Soffit Receiver. J-Channel & F-Channel. Soffit Colors. Explore.

Pin on Home sweet home
Molding can be used with the Grayson and Newport collections; Finish Moldings are solid wood and painted to match the finish of our cabinetry; Small soffit crown can be used to transition from the upper cabinets to a soffit or ceiling; Finish moldings ship in 8 ft lengths that need to be cut to fit on your job site

Pin by Paula Wold on Decorating Lighting Pinterest
Kitchen DIY // Crown Molding on a Soffit. December 4, 2017 by parkanddivision. Before we even began decorating my mother-in-law's house for the Holiday Home Tour, we tackled a bunch of quick DIY updates in her house. The front door handle was replaced, all the interior doors were painted black, the front and back doors were painted a deep.

Soffit is an overhang or eaves. Dentil The rectangular tooth like
White trim and crown moulding was used in contrast to the putty colored walls. In keeping with the era of the home, a hand-glazed white ceramic subway tile was used in the soaking tub alcove. Nickel plated bath, lavatory, tub and shower fixtures in the vintage style were used alongside modern amenities such as recessed halogen lighting.

the kitchen is clean and ready for us to use in its new home or business
Crown Moulding accessories are ideal to use with specific Crown moulding profiles. They are attractive, simple and easy to install which saves you time. Crown Center Block Size: 7-3/4"H x 6-3/16"W x 3-1/16"Proj. Manufacturer's Model# 5APD10146; Made from high density polyurethane; Light weight and durable; Impervious to moisture and insects

Crown Molding for Kitchen Fine Homebuilding
Like crown moldings used inside the home, soffit moldings add elegance and architectural character on the exterior where the siding meets the soffit. With the character and charm of custom millwork, soffits never looked so good—until now. When installing soffit, overuse of the standard F-Channel creates a plain style with a generic appearance.

Crown molding not showing on soffits General Q & A ChiefTalk Forum
9. Replace Crown Molding. Replace the section of crown molding along the wall of the house directly beneath the rear edge of the new soffit. 10. Attach Replacement Fascia. Slide the new fascia into place, then attach it with galvanized nails. Set the nails and putty the holes. 11. Attach Shingle Mold.
