Power ESP8266 with HLKPM03 Converter Random Nerd Tutorials
Awesome prices & high quality here on Temu. New users enjoy free shipping & free return. Don't swipe away. Massive discounts on our products here - up to 90% off!

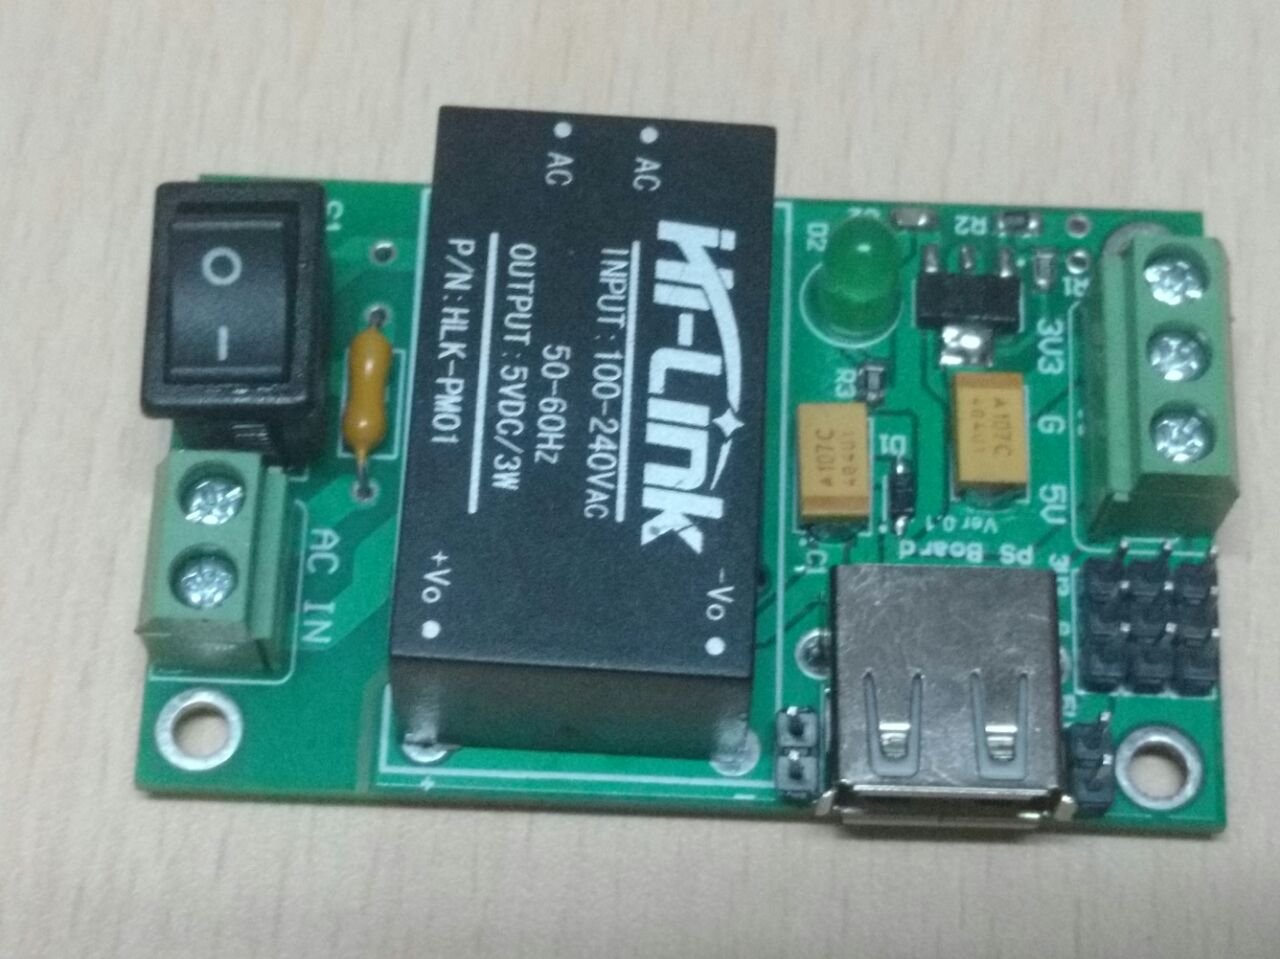
AC to DC 240Vto5V, 3.3V/600mA 3W Power Supply Module SMPS for Arduino
The world's largest software site. The Best downloads for any device. New apps.

10x Mini Fonte Hilink 5v Hlkpm01 100240vac Esp8266 Frete grátis
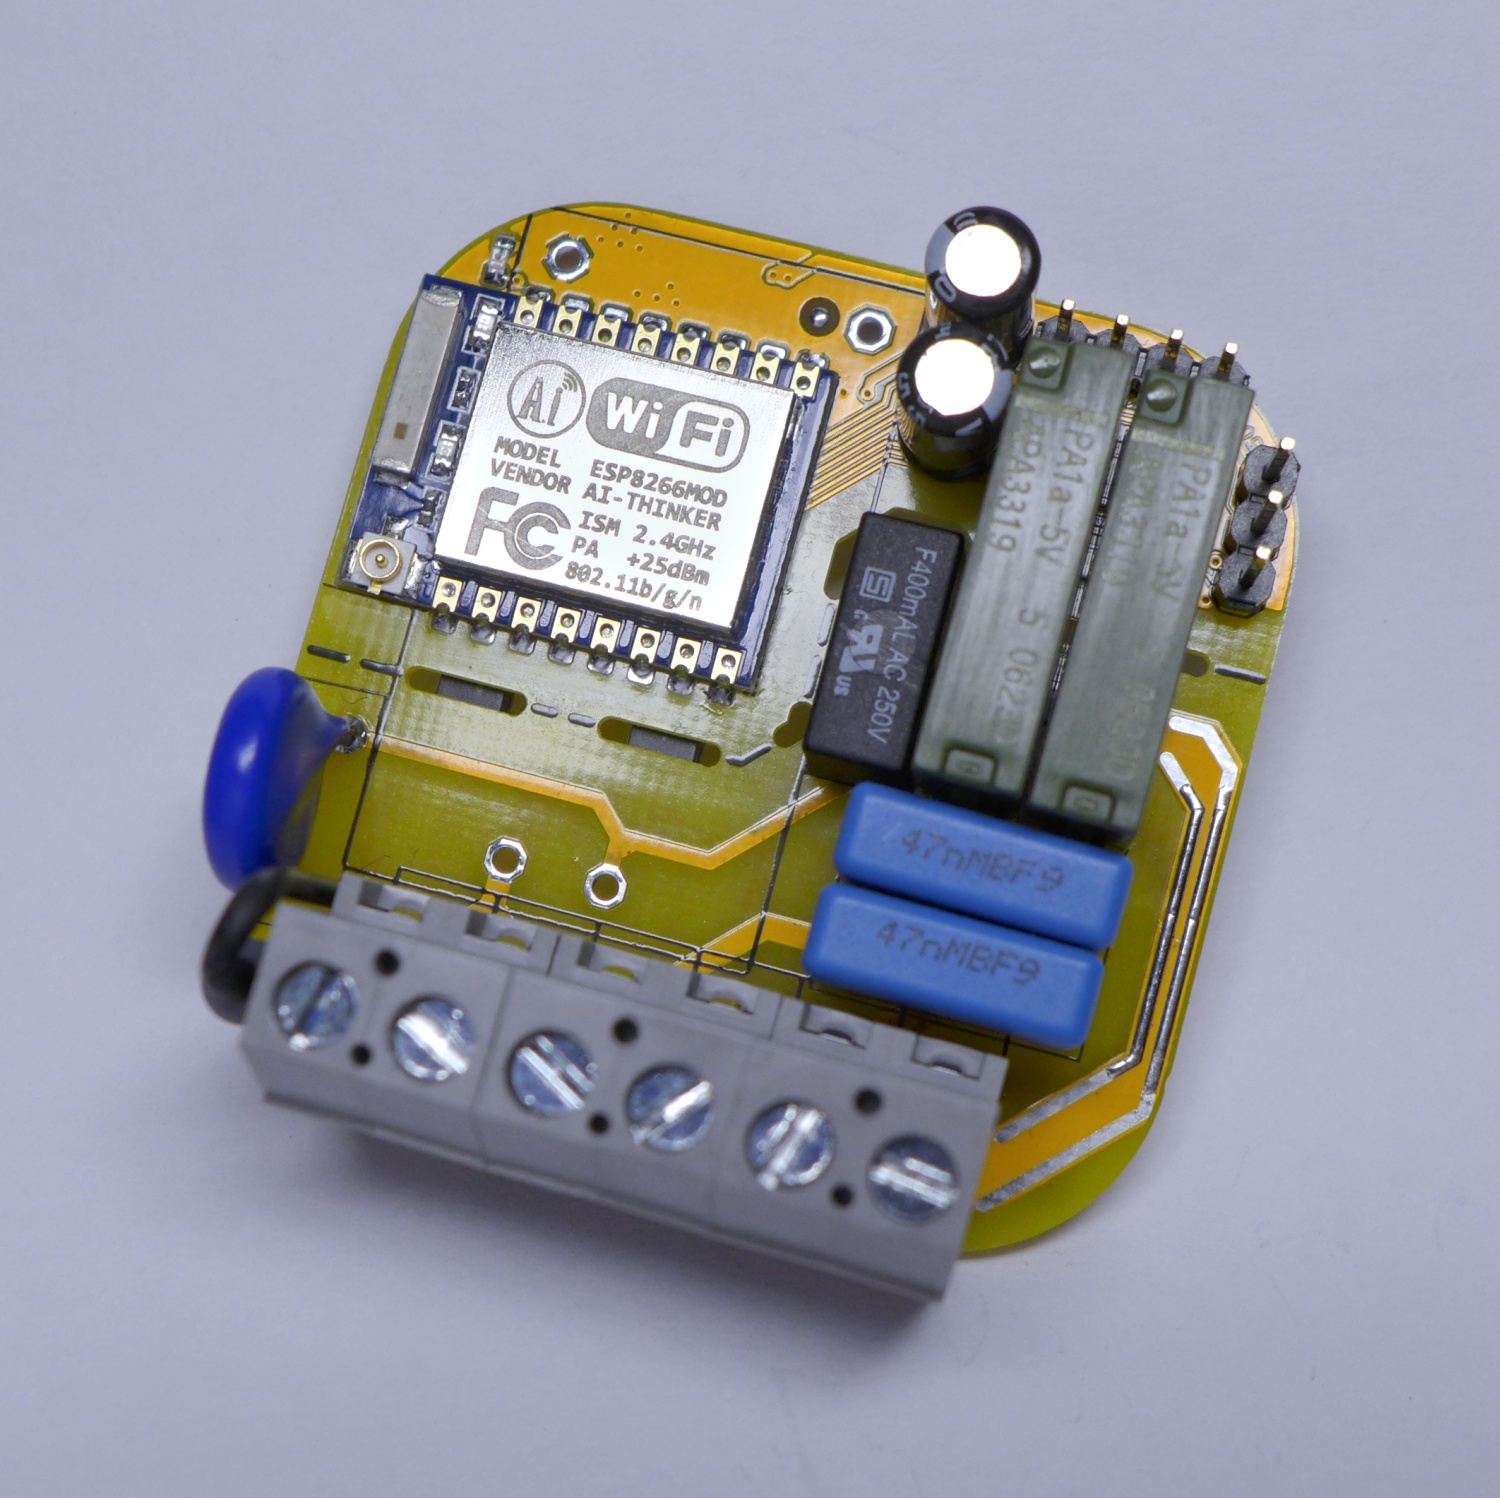
Reinventing the Wireless Plug With ESP8266 By NLD in Circuits Remote Control 12,338 41 3 Featured Download By NLD Follow More by the author: About: Never stops thinking. More About NLD » In this tutorial I will describe how to create a secure and reliable wireless plug based on the tiny ESP8266 D1 Wemos mini for controlling appliances in your home.
HiLink HLKPM01 Switching Converter 220VAC To 5VDC For DIY/IOT Arduino
Connect a 230V-5V StepDown power supply module (eg HI-Link HLK-PM01) to the UPS input cable. The output is connected to the ESP8266 via an optocoupler, so this part is also galvanically isolated. The optocoupler can be, for example, PC817, TPL621, etc. With 470 Ohm resistor at its input.
Basics project 081h ESP8266 ESP01 module and HLKPM03 Powering with
Connect the first pin of the regulator to ground. Place a 10µF capacitor between pin 2 (V out) and ground. Watch the polarity! Place a 10µF capacitor between pin 3 (V in) and ground. Connect pin 2 to the 3.3V or V CC of the ESP8266. Connect pin 3 to a 5V power source, a USB port, for example.
ACDC 220V to 5V 3.3V/600mA 3W Power Supply Module from Armtronix on Tindie
The way I have it: UK Mains (230V) connected to a HLK-PM03 providing 3.3V for the ESP8266-01 chip. Connected to the ESP8266 is a standard UK light switch and also connected to the ESP8266 is an optocoupler and triac which in turn connects to the load (in this case a light). wvmarle September 23, 2018, 12:40am #2
HLKPM01 超小型電源模組 110/220v 轉5v 智能家居 ACDC 隔離開關電源
Getting the power coming from a 220V outlet into the microcontroller was accomplished by adding an HLK-PM01 power module which takes the incoming voltage and steps it down/rectifies it into a 5V DC output. Finally, one wire of the heating coil was rerouted through relay in order to toggle its heating state. Setting the schedule

15x Mini Fonte Hi Link Hlkpm01 110220v 5v Esp8266 Frete grátis
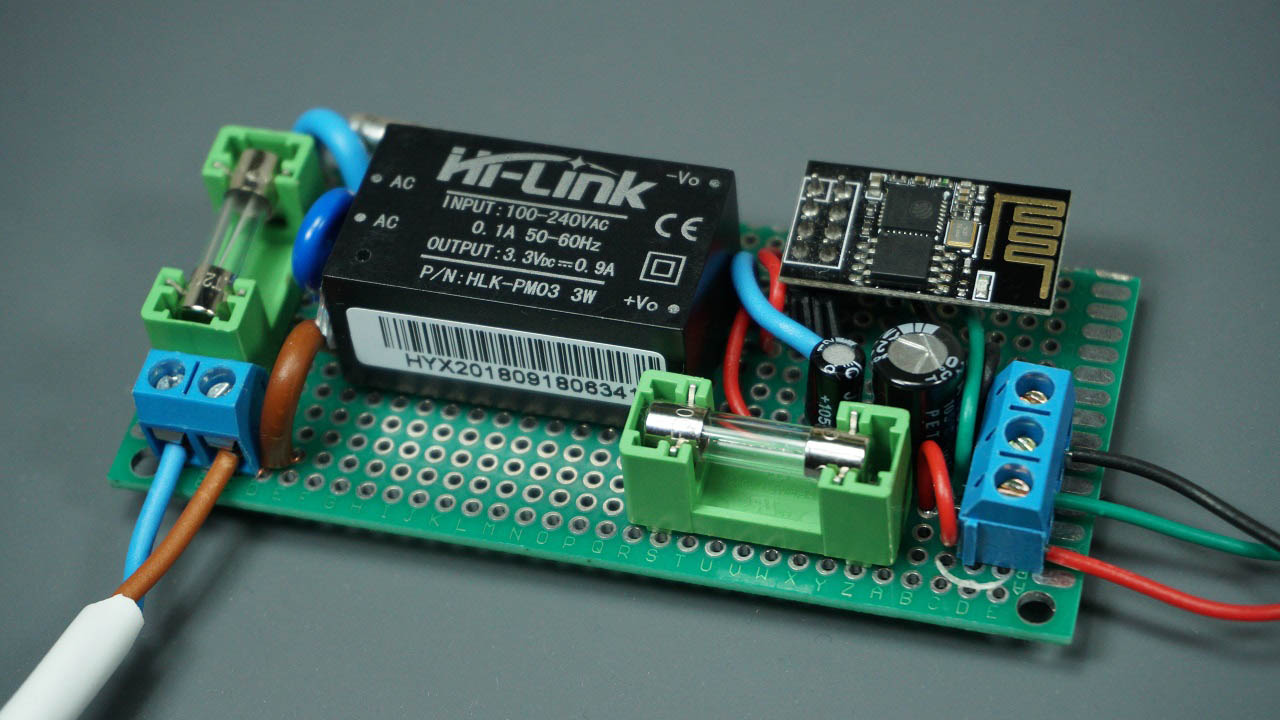
Do you really want to fuse it at 1.0 Amp? I would likely settle for 1/4 Amp or 250 mA. Just over twice the rated input current. Make sure also your fuse is rated for your mains voltage. Using the 5.0 volt out I would run with about a 500 mA fuse. Slow blow on the in and fast blow on the out. Your 5V 1A fuse on the 230 VAC input is a poor choice.
ERKOSOCKET ESP8266 sterownik 2kanałowy WIFI elektroda.pl
Step 1: Scheme and Components I used the 2 following well-explained tutorials before doing this project: WiFi / Internet Controlled Relays using ESP8266 (This one uses a power supply and an adapter to power the switch) ESP8266 WiFi relay switch (Arduino IDE) (Uses the EasyIoT web interface instead of the Blynk app in my case)

HLKPM01 Fuente compacta StepDown 100220VAC a 5V DC 0.6A
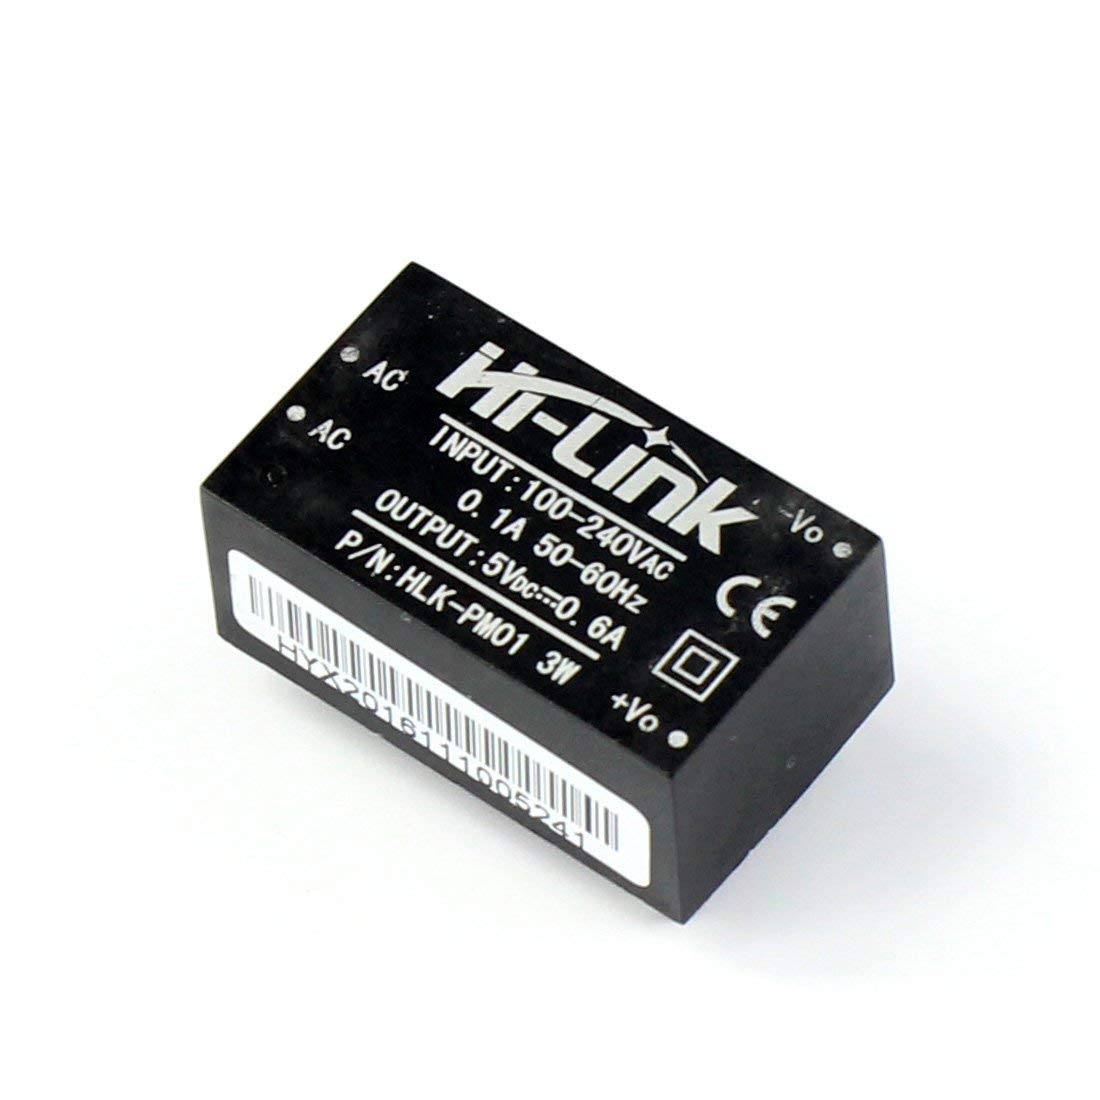
The HLK-PM01 AC to 5V DC converter module may be used for the supply unit. The 220V AC is fed as input, and the 5V DC output is fed to the ESP8266's Vin pin. The relay is controlled by the ESP8266's digital pin D5. The relay is essential for controlling the AC motor pump.
Fonte HLKPM01 100240V para 5V 3W MasterWalker Shop Arduino
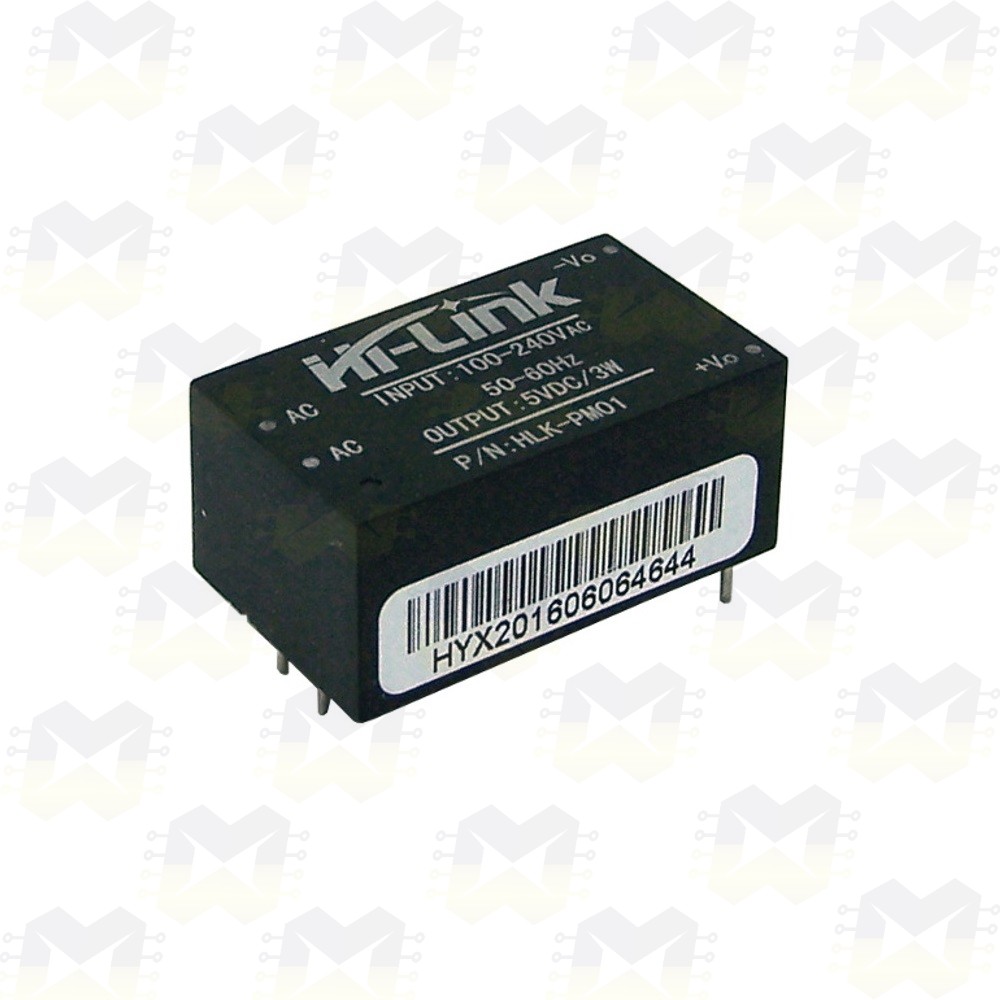
Technical Specifications. Rated input voltage 100-240 VAc. Input voltage range 90-264 VAc. Maximum input current ≤0.2 A. Input current surge : ≤10 A. Enter slow start ≤50 mS. Input Low Voltage Efficiency Vin=110VAc,Output full-load≥69 %. Input High Voltage Efficiency Vin=220VAc,output full-load≥70 %. Long-term reliability MTBF≥.
ESP8266 230V I/O Modul LUANI
Step 1: Materials These are the components that you will need: ESP8266 Wi-Fi Module ESP-01 Male/female jumper wires Breadboard Arduino UNO Ask Question Step 2: ESP-01 Setup When you buy the ESP8266 ESP-01, it comes with a pre-installed AT firmware. It is possible to program the chip with another firmware such as NodeMCU, for example.

HLKPM01/ HLKPM03/ HLKPM09/ HLKPM12 / HLKPM24 Hilink Power Modules
Where to Buy? You can check the HLK-PM03 or HLK-PM01 modules on Maker Advisor and find the best price. HLK-PM03 HLK-PM01 Safety Warning This project deals with mains voltage. Make sure you understand what you are doing. Please read the safety warning below carefully. Powering the ESP8266 with AC using the Hi-Link HLK-PM03 module
Mini Fonte Hilink Hlkpm01 100a240vac Para 5vdc 3w Para Esp8266 e
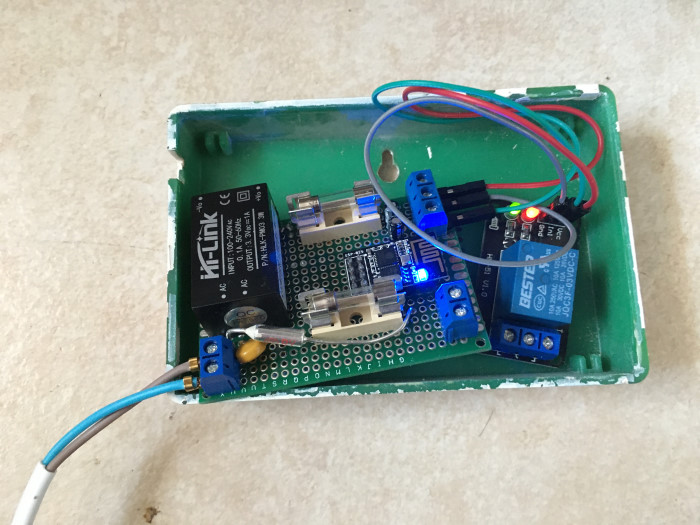
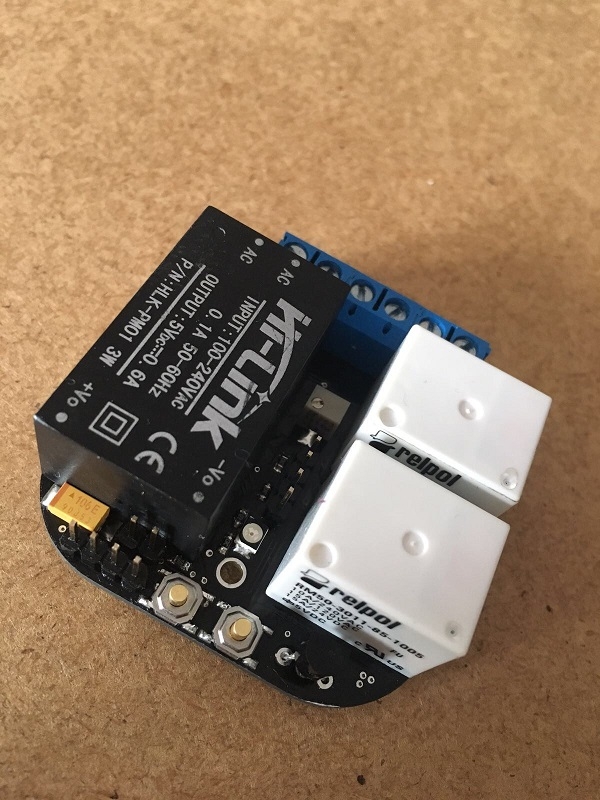
The attached layout and schematic shows a triple-fused in-wall power supply (supposed to fit into an enclosure for a 60 mm diameter standard EU backbox). Next to the 100-240V PSU, which is either a Hi-Link HLK-PM01 (5V, 0.6 A) or a Hi-Link HLK-PM03 (3.3V, 1A) sits in this case a Wemos D1 mini ESP8266 module.
Mini Fonte Hilink Hlkpm01 100a240vac Para 5vdc 3w Para Esp8266 e
A home automation project for light use with an ESP8266 and 5V relay. Find this and other hardware projects on Hackster.io.

ESP12E based control board schematic and PCB photos Everything ESP8266
Project name: ESP8266 ESP-01 module , HLK-PM03 - Powering with Mains ESP8266 Web Server Tags: Arduino, ESP8266 ESP-01 module, ESP, ESP8266, WI FI module, ESP-01, Hi-Link, HLK-PM01, powering with mains, HLK-PM03, HLK-PM12 WARNING - THIS PROJECT INVOLVES HIGH VOLTAGES THAT CAN CAUSE SERIOUS INJURY OR DEATH.
